Create and publish a sign-up form
Pick a template, choose when it shows, check its texts and put it live on your store.
Sign-up forms collect phone numbers from shoppers on your store so you can text them. Each form comes with the texts new subscribers receive, and with a welcome campaign you can add more messages to.
Create the form
Open Sign-up forms
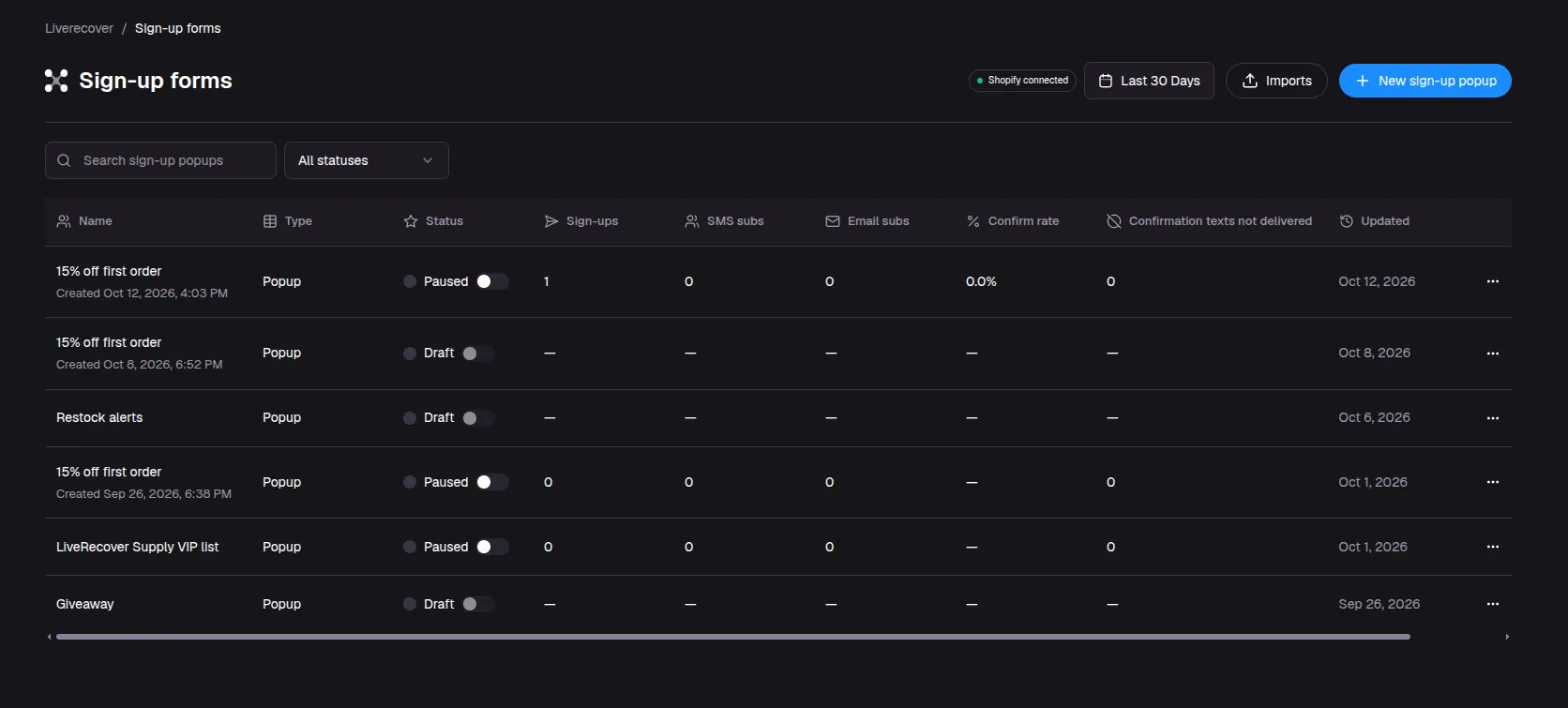
In the left menu, under Customers, click Sign-up forms. The list shows each form's status, how many people signed up, and how many confirmed.
Pick a template
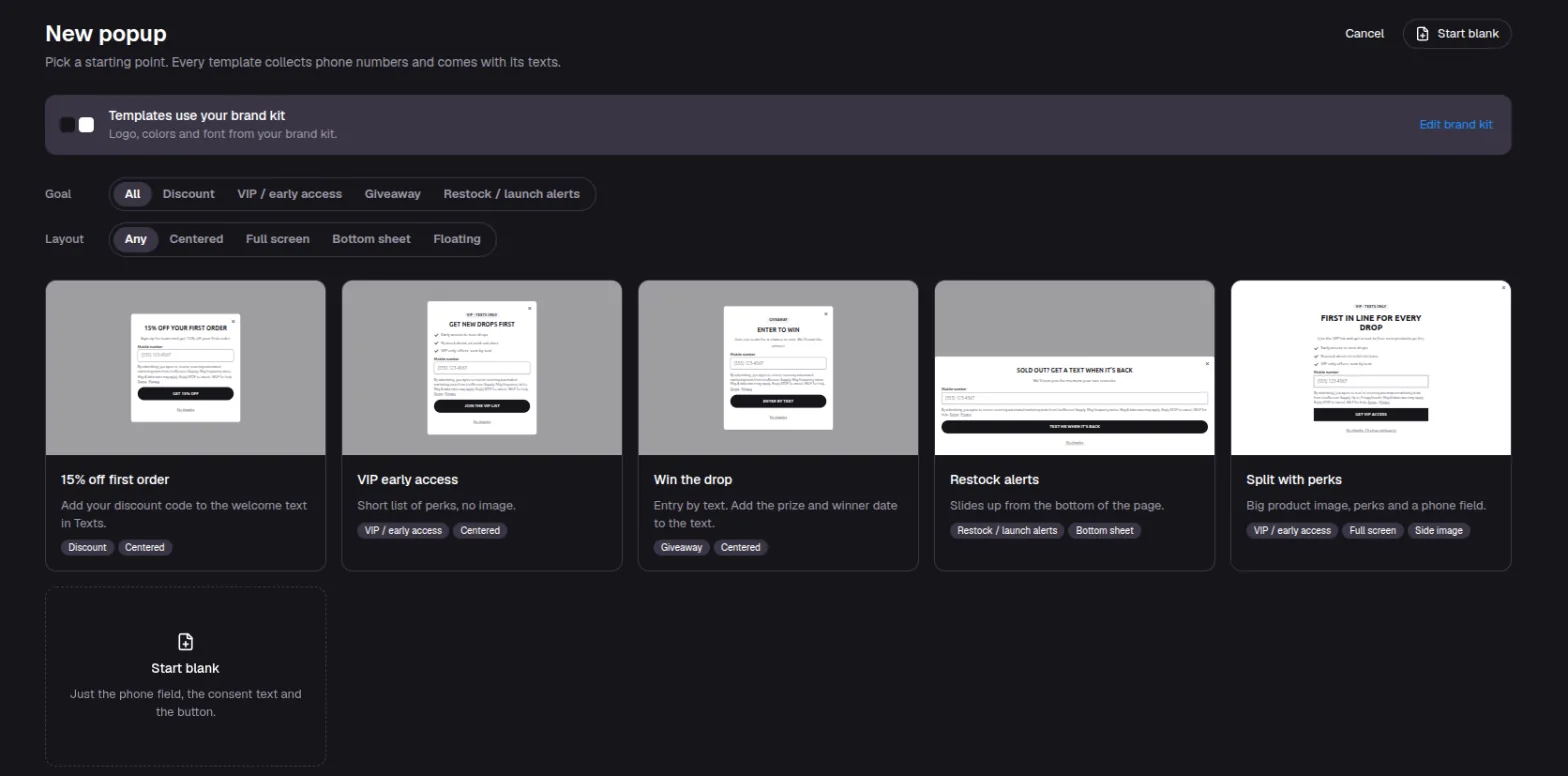
Click New sign-up popup. Filter by Goal (such as a discount, VIP early access or a giveaway) or by Layout, then click a template to preview it. Templates use your brand colors, fonts and logo from your brand kit.
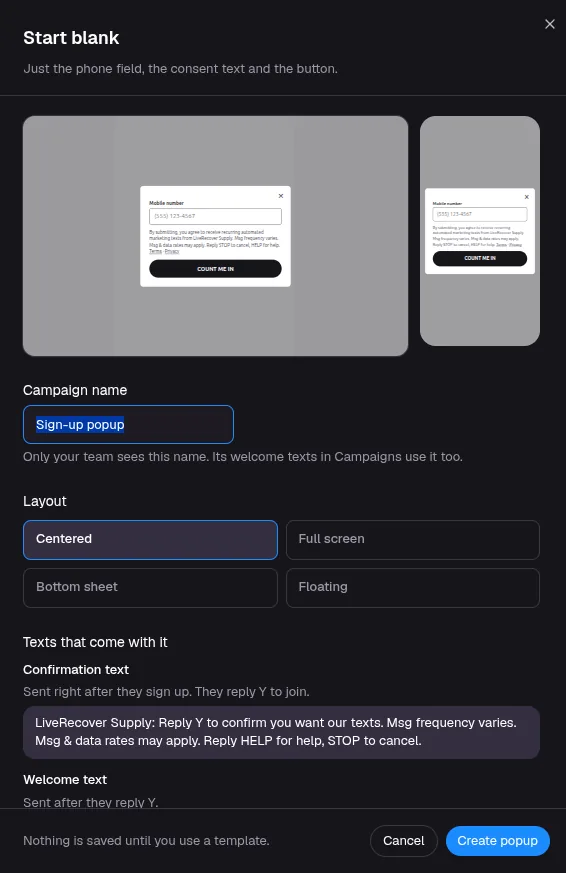
To start from scratch, choose Start blank. It has just the phone field, the consent text and the button. Pick a layout, then click Create popup.
Check the texts that come with it
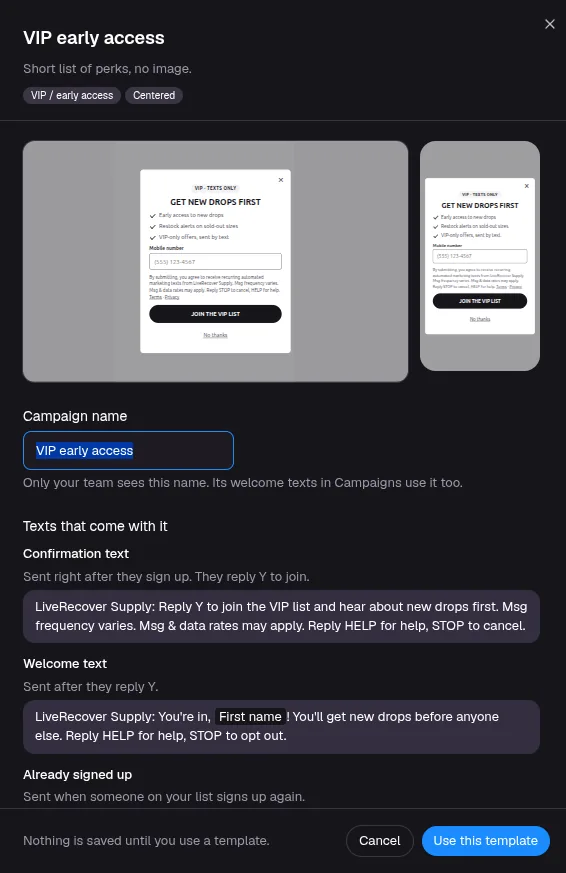
The preview lists the texts the form sends:
- Confirmation text: sent right after someone signs up. They reply Y to join.
- Welcome text: sent after they reply Y.
- Already signed up: sent when someone already on your list signs up again.
Enter a Campaign name. Only your team sees it, and the form's welcome campaign uses the same name. Then click Use this template. Nothing is saved until you do.
In the editor, these texts are called Confirmation request, Welcome text and Already subscribed.
Edit the form
The editor saves your changes automatically. Use the sections on the left to work through the form.
Add
Add headings, text, images, buttons and perks lists, and sign-up fields such as Phone, Email, First name and Birthday. The Text us to join block lets shoppers sign up by sending you a text instead of typing their number.
The consent text always sits directly above the button. Nothing can go between them.
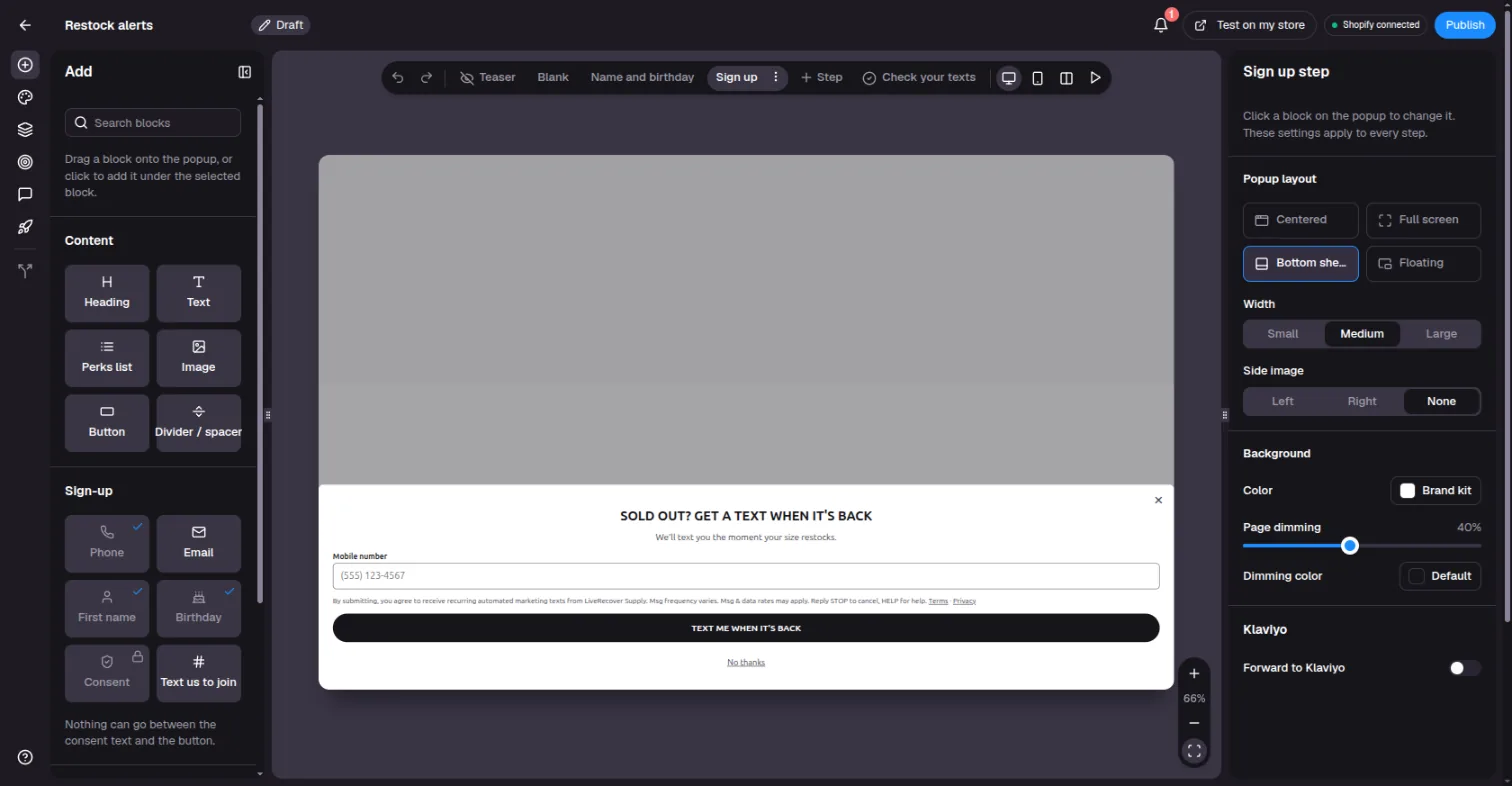
Style
Set colors, fonts, corner style and button shape. Import from Shopify copies them from your store theme.
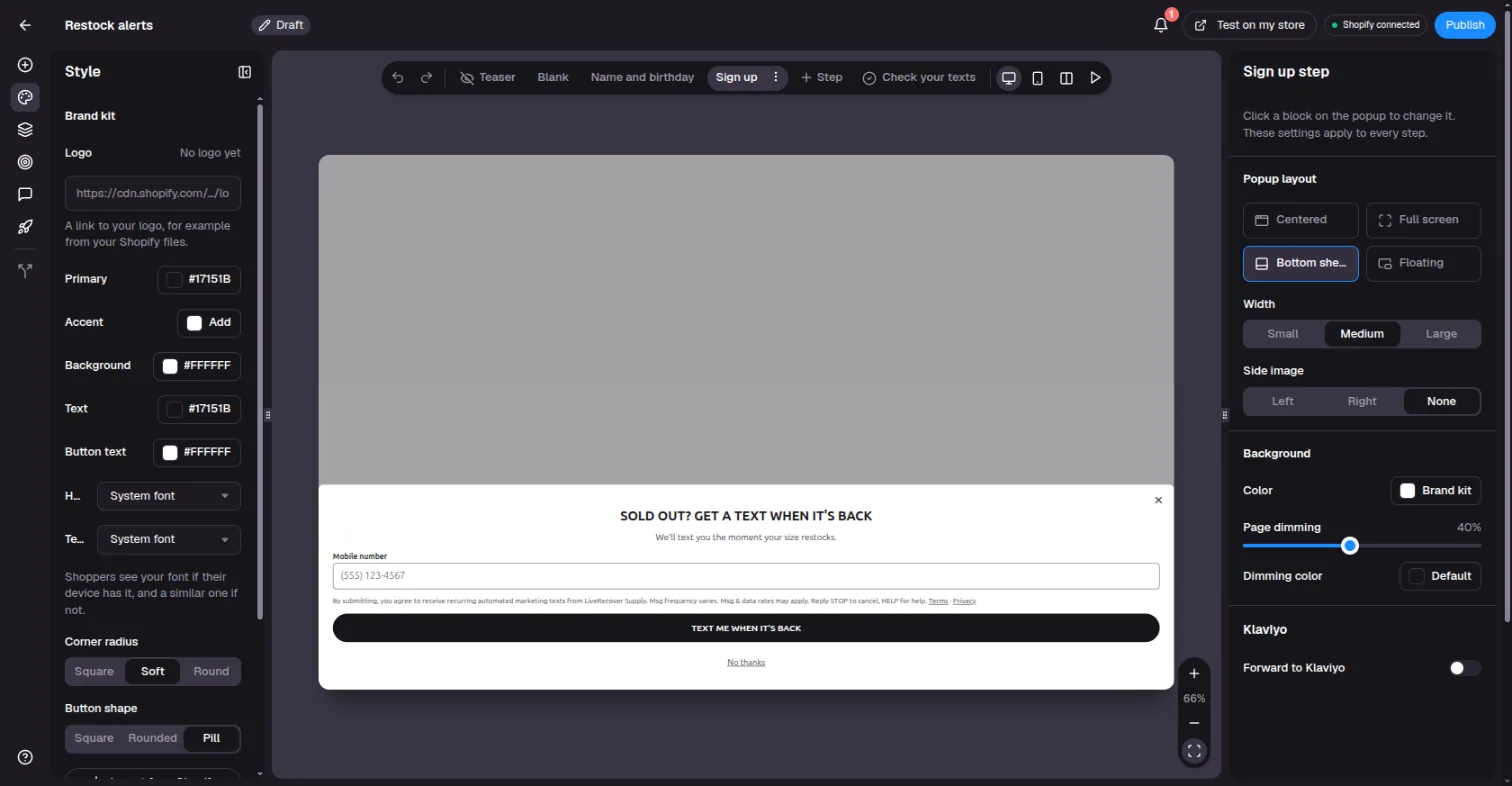
Steps
A form can have several steps, such as asking for a phone number first and an email second. Shoppers see the steps from top to bottom. The Check your texts step, which tells shoppers to look for the confirmation text, is always last.
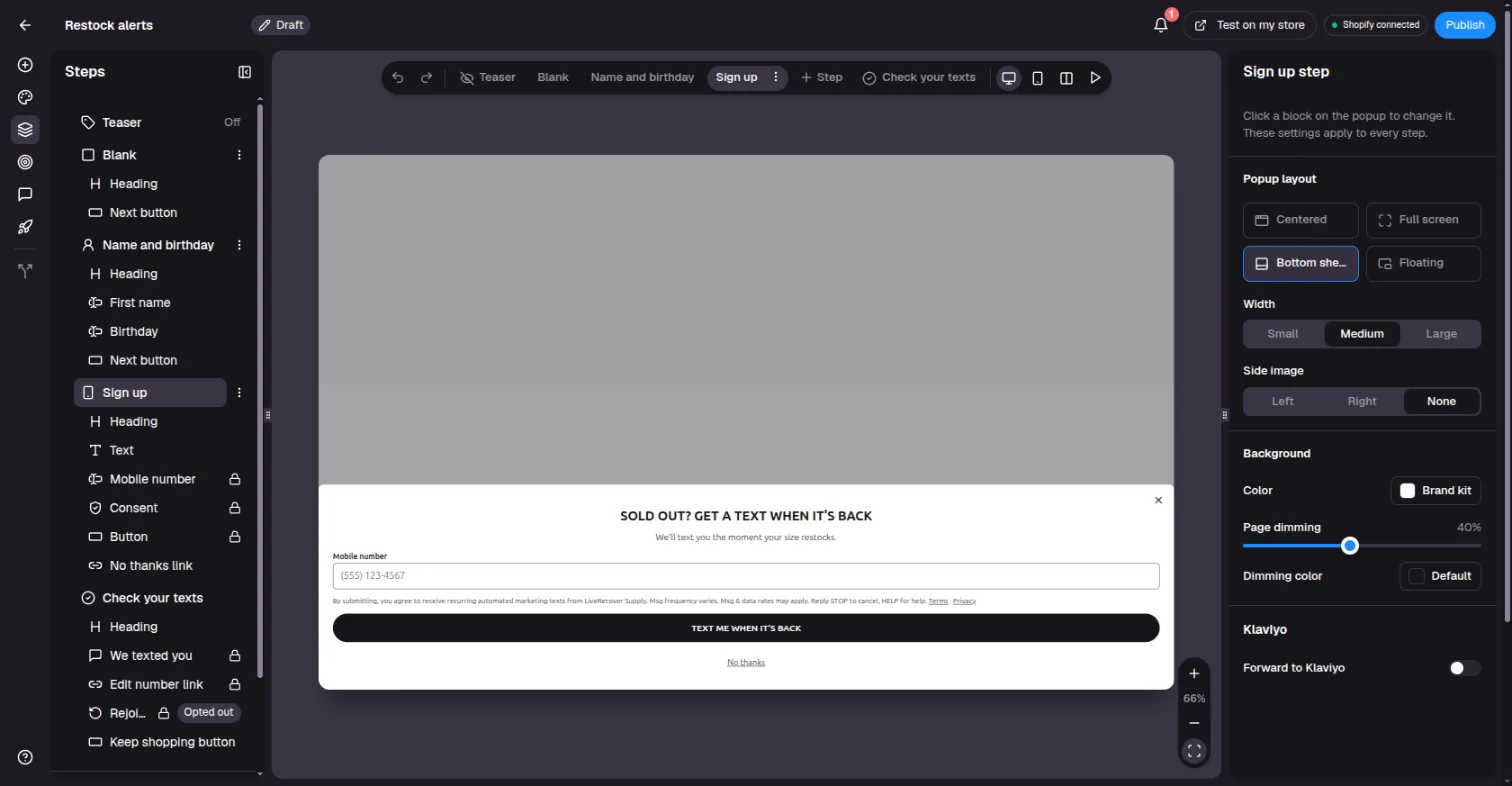
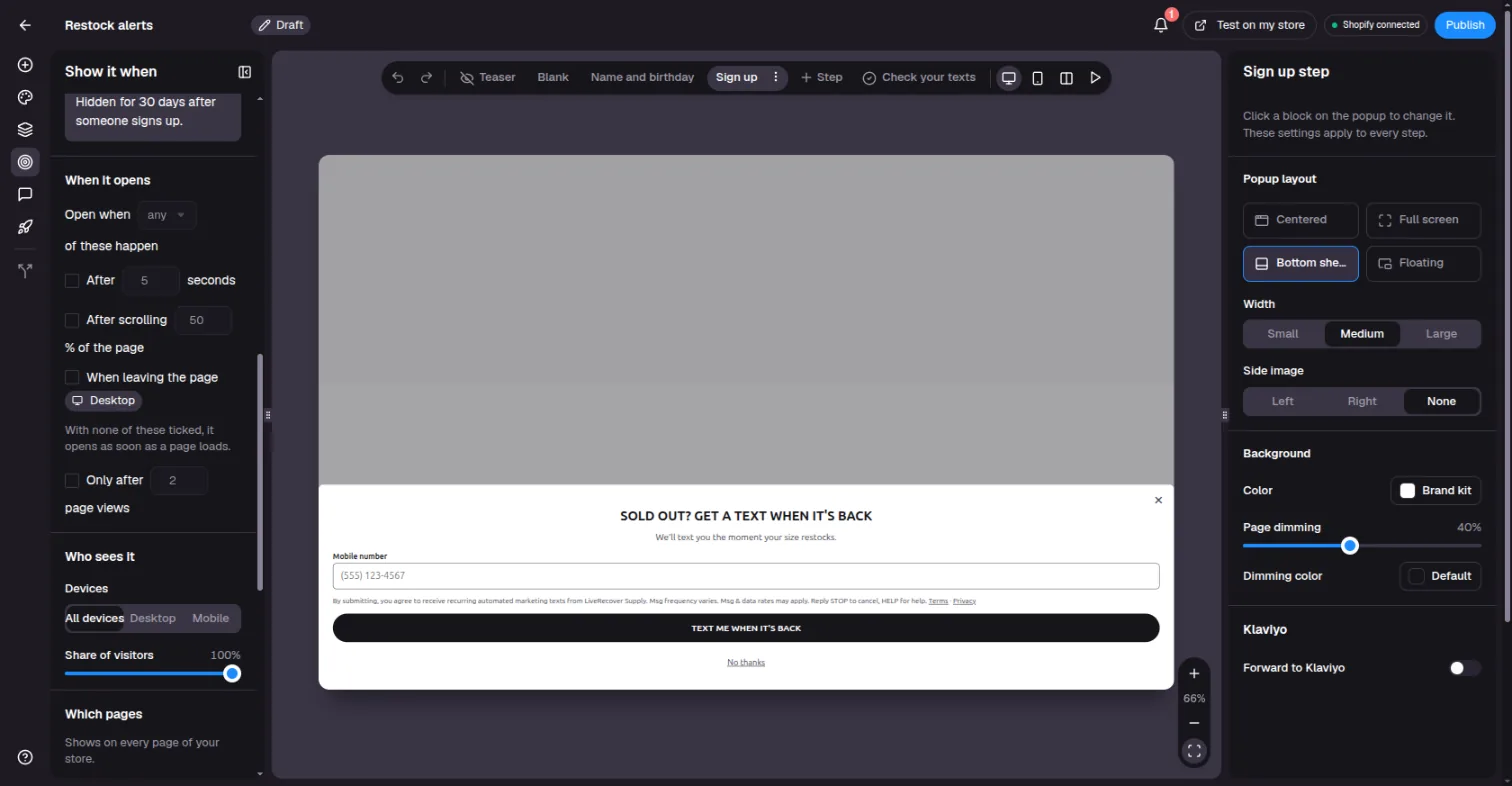
Show it when
Choose where and when the form appears.
- Collect: phone numbers, emails or both.
- Placement: Pop-up opens over the page using the rules below. Inline form sits inside a page, for example in your footer.
- When it opens: after a number of seconds, after the shopper scrolls part of the page, when they are about to leave the page (desktop only), or after a number of page views. With none ticked, it opens as soon as a page loads.
- Who sees it: all devices, desktop only or mobile only, and the share of visitors who see it.
- Which pages: add pages to show it on. Add
*to cover a set of pages, for example/collections/*covers every collection. - How often: how long to wait before showing it again after someone closes it.
- After someone signs up: never show it again, or hide it for 30 or 90 days.
- Age gate: let only shoppers aged 18+ or 21+ sign up. With an age gate on, people can't join by texting you (Text us to join, keyword, QR code or link).
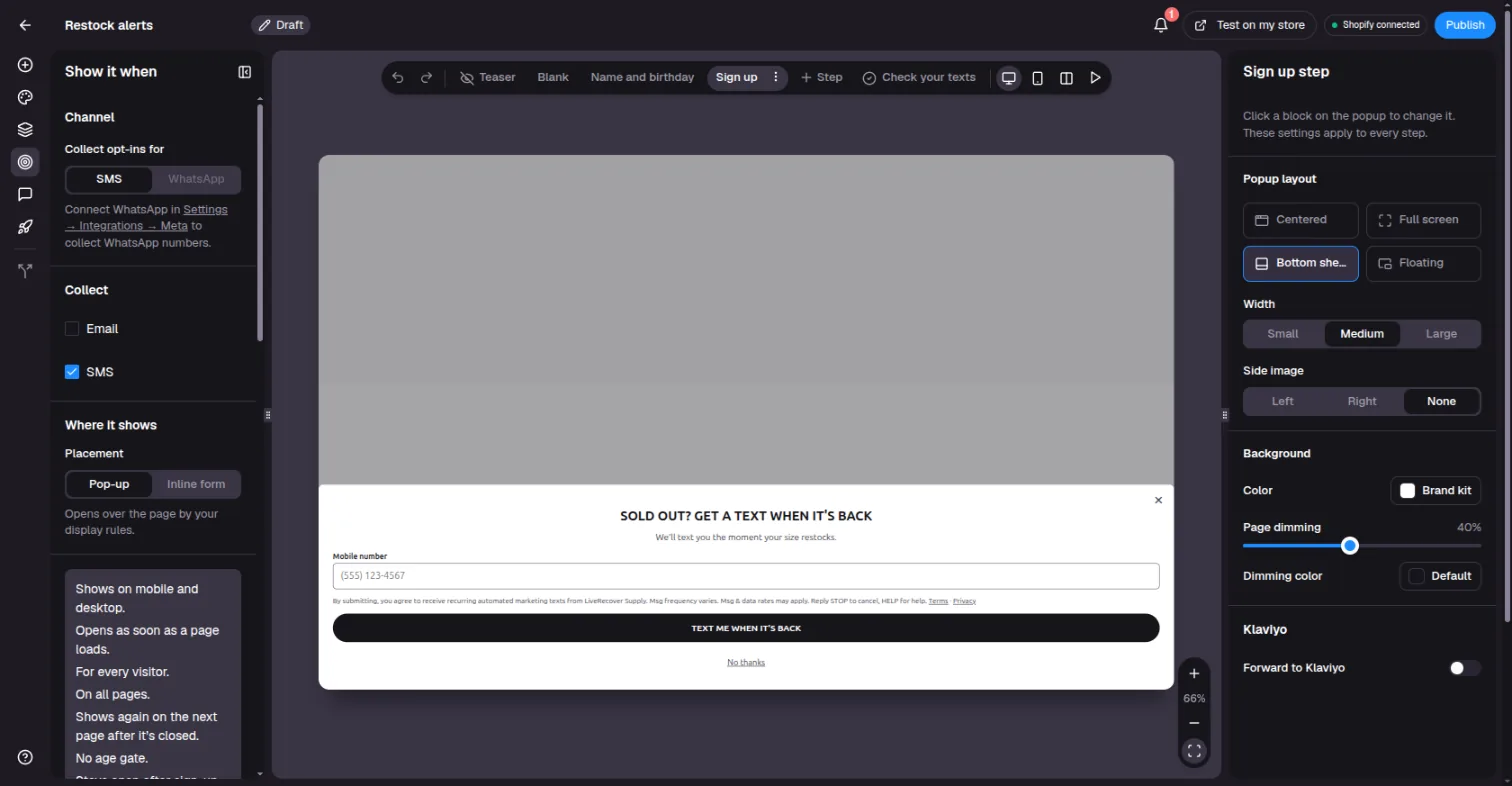
Texts
Edit the Confirmation request, Welcome text and Already subscribed texts. The Must include checklist shows what each text needs: your store name, the request to reply Y, how often you text, and HELP and STOP instructions. The phone preview shows how each text will look.
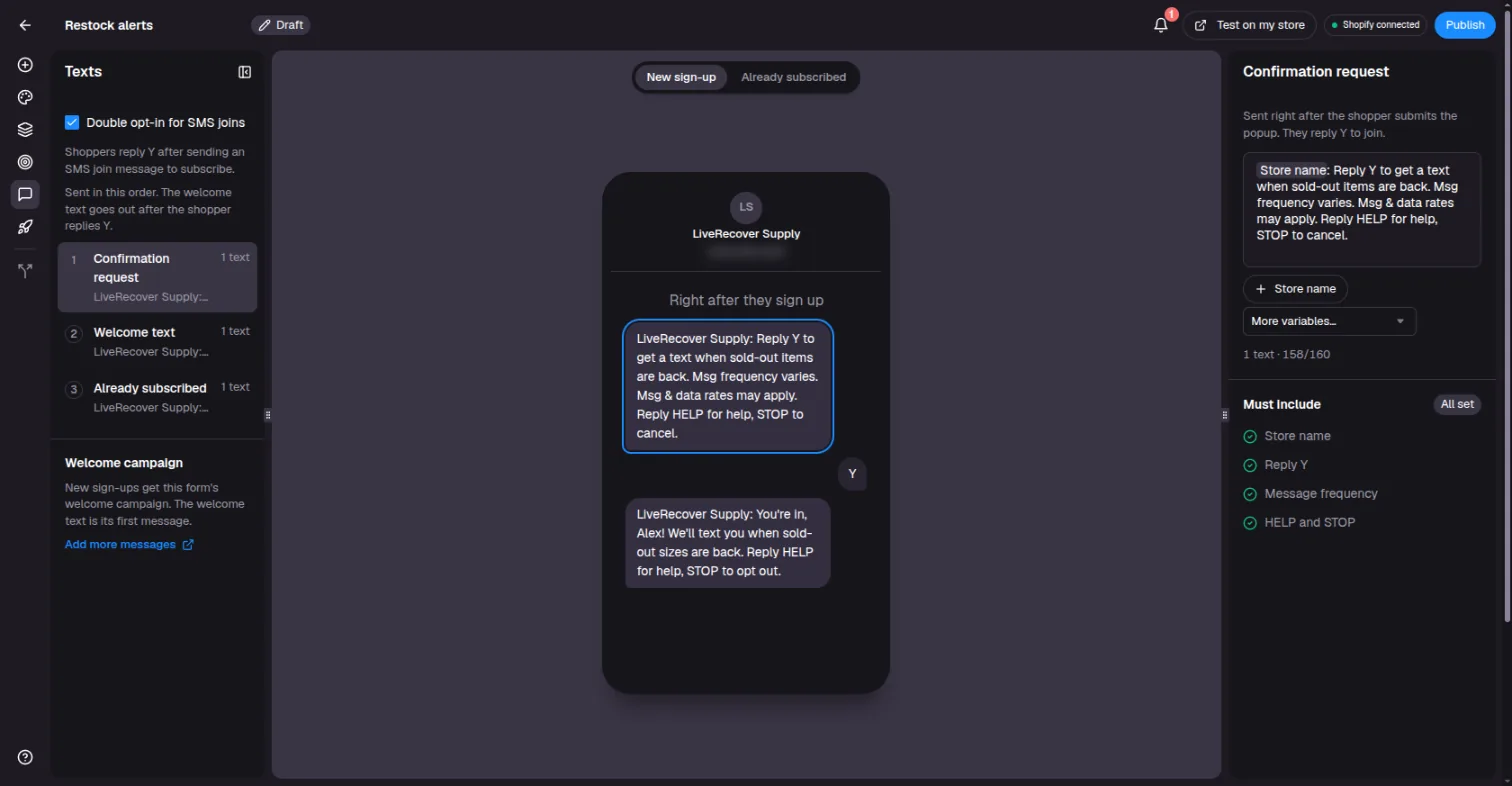
The welcome text is the first message of the form's welcome campaign. Click Add more messages to add follow-ups, such as a reminder to use the discount.
The consent text
Every form shows consent text under the phone field. It is filled in for you with your store name and the wording carriers require, such as message frequency, "Msg & data rates may apply" and how to reply STOP or HELP. It links to your Terms and Privacy pages, taken from Settings > Shop. Make sure both links are set there before you publish.
Publish
Check the list
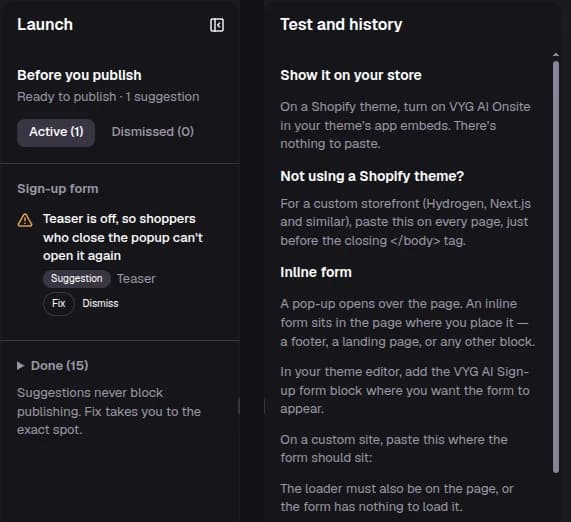
Open Launch. Before you publish lists what the form still needs. Items marked as blocking must be fixed before you can publish. Click Fix to go straight to one. Suggestions can be dismissed.
Put it on your store
- Shopify: turn on VYG AI Onsite in your theme's app embeds. For an inline form, add the VYG AI Sign-up form block where you want it in the theme editor.
- Other stores: copy the code shown under Launch into your site, and list the sites the form may appear on.
Test it
Click Test on my store to see the form on your live site. Page rules are skipped and test sign-ups are not saved.
Publish
Click Publish to put the form live now, or schedule it for later. You can pause a form at any time with the switch on the Sign-up forms list.
See who signed up
The Sign-up forms list shows sign-ups, SMS and email subscribers, and confirm rate for each form. To text the people who joined through a form, create a one-time send and choose Sign-up form as the audience. See Send a one-time text to your subscribers.